
Get ready to change your dinner plans for this evening... because whatever you had planned beforehand won't be nearly as awesome as making your own pizza. My friend Lindsey, over from Grits and Grace, is here today to give you the step-by-step-pizza-run-down. I love, love, love how this has become a weekly tradition for her family and totally plan to steal this idea... you will too. Take it away Lindsey!
----------
mmmmm...pizza....
----------
mmmmm...pizza....
This is Lindsey over at Grits and Grace and around my house, we love some pizza.
We also love babies and books and the park and chocolate chip cookies, but you'll have to read all about those things over here.
Today I'm happy to be writing for Julia while she's gone someplace fun and exotic. I'm not jealous, I mean some of us have to stay home and enjoy the kiddie pools right? {love you Julia, hope you're having fun}
Back to the point. Pizza. Yummy, delicious, homemade pizza.
Now I know you figured pizza is best from the freezer or the Papa (we're partial to John, ourselves), but give me a few moments to change your mind and I promise you'll never have to have that argument over which toppings to get on which half ever again.

In our house, almost every Friday night is Pizza Night. It's a tradition I stole from my aunt who moved up to Boston and got all Yankee-fied on us but who still makes amazing pizza when she's back in God's country for a visit. I loved the idea of using dinner to make memories for my kids and pizza is definitely easier than frying chicken with a toddler on your hip.
Here are some of my little helpers:

Olives or extra cheese? Woe is me, I just can't decide.
So here's how we do it:
step one.
You've got to have really awesome crust. Now, you can take what appears to be the simpler way out and buy Pillsbury, or you can trust me and make your own. Nowadays, whipping up a batch of pizza dough takes me as much time as opening the a can of store bought. I won't judge you if you go that route, but give this a try just once in your life to say you have, promise?
Here's what I do:
I follow the never fails me directions of The Pioneer Woman.
Which means I mix yeast with warm water and add it to salted flour drizzled with olive oil.
Then I put it in a bowl, cover it in a towel and let it rise in my microwave for 1-2 hours.
Note: do not turn microwave on.
You can make it days before and stick it in the fridge. It's versatile like that.
Here's what it looks like just mixed...

...and now two hours later...

puffy and ready to roll.
step two.
Assemble your ingredients. Now, here's the beauty of pizza night. It's your kitchen so you can put whatever you want on your pizza, and trust me, anything's good. The other night I made Summer Pizza with leftover squash, zucchini, and carrots. My husband's favorite is when I have leftover ham from a big family dinner and I dice it and throw it on top. Here's what we were working with for Father's Day pizza:

Mushrooms, green peppers, black olives (my weird kids love 'em), italian sausage and pepperoni. My cheese is a block of mozzerella I grated myself. I used to let my six year old grate the cheese until she grated her knuckles.
step three.
Don't forget your sauce. Again, you can buy pizza sauce. Or you can be frugal, simple, and delicious and open up a can of crushed tomatoes with italian spices. Or if you grab a can of diced tomatoes on accident like I did, blend them in your blender with a teaspoon of olive oil drizzled in. Perfect, simple sauce

and if you don't like it this chunky, blend it some extra. Heating isn't necessary, but you can if you want. It does intensify the flavor.
step four.
Preheat your oven to 500 degrees. That's right, it goes that high. If you have a pizza stone, put it in the oven to preheat also. If you don't, go to Walmart and buy one. You won't regret it.
step five.
Clear your space. I use my kitchen table because I'm too lazy to move things off my counter and it's a better height for my girls to help. Then get out a cookie sheet or pizza board if you're really fancy. You'll want to build your pizza on this to make the pizza to stone transfer easy. You can also cook the pizza on a cookie sheet and that's fine too.
step six.
Start rolling. Sprinkle a generous amount of cornmeal over your work area. This will keep the dough from sticking. One dough recipe will make two large pizzas, so divide it in half to begin. I then take one half and divide it into thirds for my girls to make their own. They're regular little chefs.

Now, place the dough in the center of your work area and begin flattening it.

It's going to be elastic-y and stretchy and will bounce back. That's good, you did it right! Just keep working it. When it's about six inches across, I get out the rolling pin and work from the center out.

Thin pizza is lower in carbs, but won't hold as many toppings, so use your judgement. It will puff up some in the cooking process. And those fingerprints? They help hold on the toppings.
step seven.
Build it up. Spread the sauce to your desired taste, usually about a half cup worth. Then top with whatever makes you happy.

Here's Annabelle putting on lots of cheese...

and here's daddy's pizza with everything under but the pepperoni. They get a little crisp when on top and I love that. I also pinched the edges of my dough up to create a thicker crust and hold in all that goodness.
step eight.
The transfer. Don't be scared. The secret is lots of cornmeal under the pizza dough and sprinkled onto the stone. Slide a spatula underneath and gently work the pizza from the cookie sheet or board and onto the stone. Once you get it going it should slide right off.

step nine.
Cook in the center of the rack for approximately seven minutes or until cheese is melted and crust is golden.

step ten.
Enjoy! and post lots of pictures!
 |
| Yum! |
 |
| Annabelle being patient. |
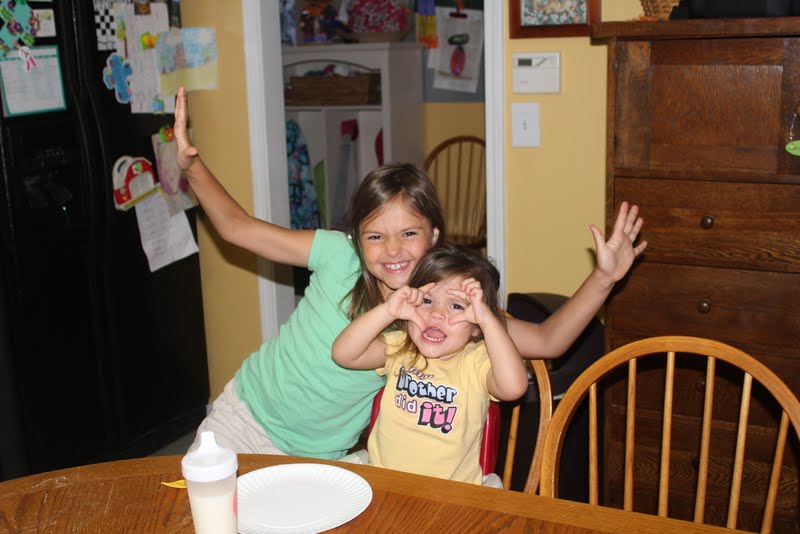 |
| Silly girls. |
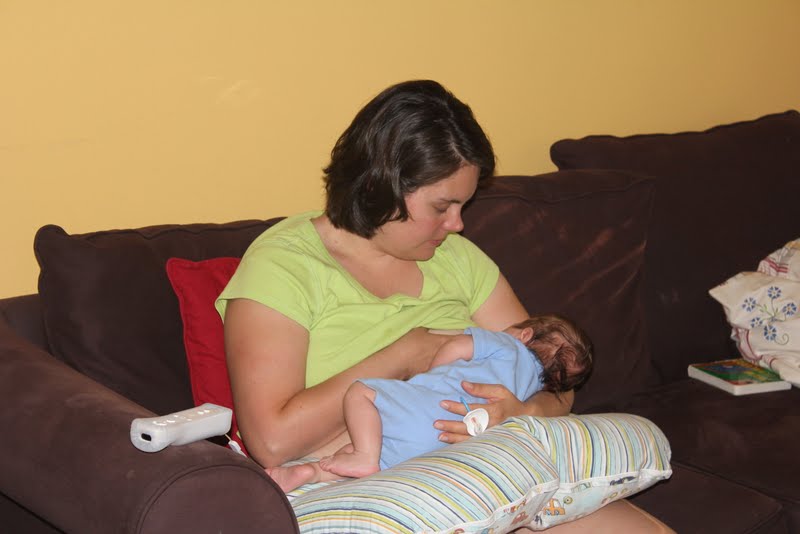 |
| Gus can't wait until he's big enough for pizza night. Until then, it's secondhand in mommy milk. |
6 comments:
what a fun tradition!!
Thanks so much for sharing Lindsey!! We are making our own pizzas tonight at the beach! My nieces are super excited:)
good work done by you ,thanks for sharing this post .
I think I may have to try it out!
I really should try to actually make dough once. My mom used to make fried dough all the time when I was a kid - it should be in blood, right?
Also = hahaha, I appreciate Yankee-fied. I recently started to become Southern-ified on a long-term business trip. Either way, it's definitely an experience :)
This looks delicious, thanks!!
As one of the most popular fast foods in the US, making homemade pizza is a great way to get the entire family to the kitchen together. It can also save you money, and give you the freedom to choose whatever ingredient you want to top your pizza with. I love to put a lot of cheese on mine; loads of them, actually.
Carlene Boley
Post a Comment